My favourite herbal elixir for immunity: easy oxymel recipe
There’s something that I reach for every time I feel under the weather, no matter whether it’s a cold, flu, cough or just a weird scratchy feeling in my throat.
It’s one of the first things I learned to make as a naturopath in my herbal medicine classes back in 2014, and I can’t believe I had never heard of it before.
An oxymel.
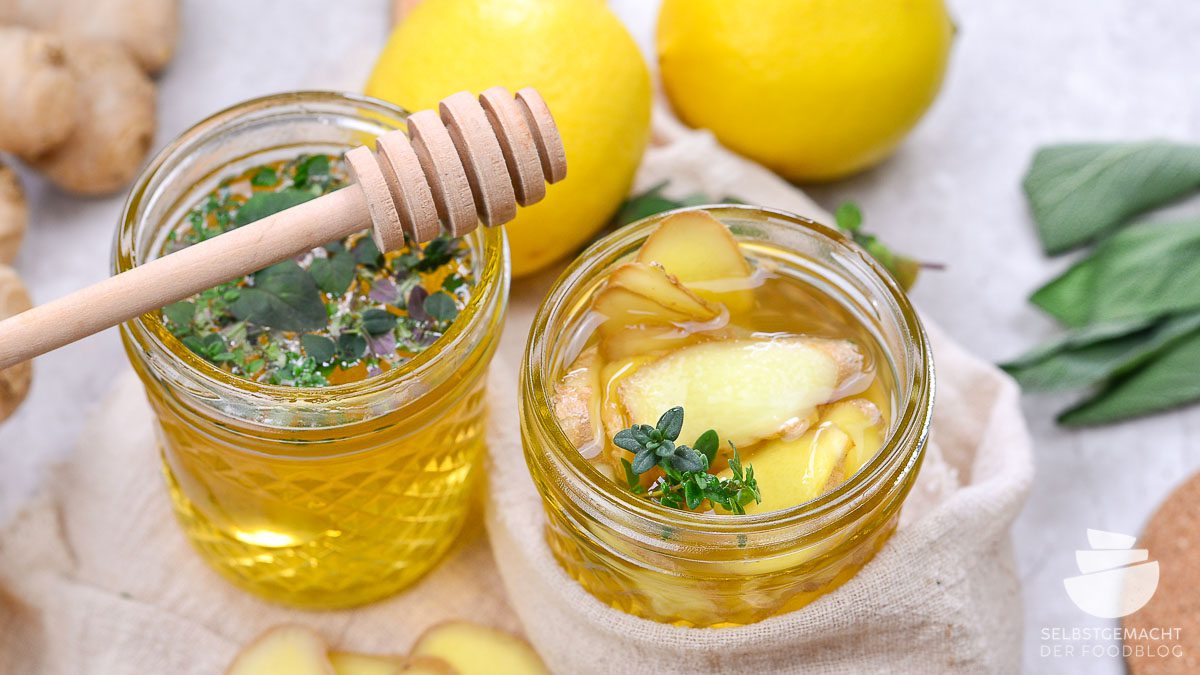
Weird name, I know. But the recipe couldn’t be more simple.
An oxymel is simply a herbal medicine in a base of vinegar and honey. Traditionally they were used to disguise the taste of strong, pungent herbs, with the vinegar and honey having their own medicinal benefits (vinegar is an expectorant, which can help expel mucus causing a cough, and honey is a well-renowned anti-microbial).
You can put any herbs in an oxymel, but the most useful and common preparation is a garlic oxymel. If you love garlic, I don’t need to convince you. If you’re not a fan of garlic… hear me out, and give it a shot.
The medicinal properties of garlic
Garlic other than a culinary must-have (especially growing up in an Italian household, like myself), is an incredibly powerful herbal medicine to have in your pantry. I will literally suck on cloves of garlic like a lozenge at the earliest sign of a cold… but don’t worry, you don’t have to be as weird as me to receive the healing benefits of garlic.
Anti-microbial: helps kill a broad range of microbes, such as bacteria and fungi
Antispasmodic & Carminative: Helps relax the smooth muscle of the intestinal tract to prevent cramping, spasms and relieve bloating.
Cardioprotective: Protects heart function and cardiovascular health
Diaphoretic: Encourages sweating
Expectorant: Assists in expelling mucus via cough
Hepatoprotective: Protective of the liver and liver function
Hypoglycemic: Can help reduce high blood sugar levels
Hypolipidemic: Can help reduce lipids and cholesterol in the blood
Hypotensive: Can help reduce and normalise blood pressure
The recipe: easy garlic oxymel
Ingredients:
About 10 cloves of garlic
100mL apple cider vinegar
40mL (approx 2 tablespoons) of honey (ideally raw and local. And if you’re not messing around, invest in a Manuka honey).
Optional herbs to add:
Thyme — great for anything cough and lung-related
Ginger — my other go-to herbal ally for colds and flu, great to warm up the body and encourage blood flow through the body and regulate inflammation
Liquorice — great for a dry cough, scratchy sore throat, fatigue *please avoid if you have high blood pressure, or please consult your healthcare professional for tailored advice
Fennel seeds — great for bloating and digestive discomfort
Caraway seeds — also to relieve digestive upset, IBS-like symptoms
Clove — good for any mouth infections or very sore throats
Methods:
Lazy Method
Okay, I literally just throw the ingredients together in a jar, making sure there is enough of the base to cover all the garlic, and I put it in the fridge. You’ll want to wait 2-4 weeks to allow the compounds from the garlic to infuse the base.
Stronger Effect Method
But, we can do it another way to get the most out of your oxymel, sooner.
Over very low heat, mix the vinegar in a saucepan.
*If you’re adding any other herbs, this is the step where you’d steep them in the vinegar and simmer for 5-10 minutes. See above for some herbs to add.
Strain the vinegar to separate the herbs from the vinegar (though you’re welcome to keep it all in there, it’s just personal preference).
Add honey to the vinegar and gently warm to combine.
Peel and crush garlic and place in a jar.
Pour the warmed honey and vinegar mixture over the garlic and steep.
If you like, add a label on the jar, including the date it was made and the herbs you used.
I keep this mix as is in the fridge for 6-12 months. Vinegar and honey together are great preservatives, so it will last a long time, especially in the fridge.
How to take your oxymel
Take 1 teaspoon to 1 tablespoon of your oxymel as needed, 3 times daily. I highly recommend using it at the earliest sign of feeling unwell.
You may like to strain your oxymel dosage before taking, but I just take a spoon to the jar and go for it!
If you make your own oxymel, send me a photo on Instagram or email me to let me know!
May you and your family receive the herbal healing support from this traditional and oh-so-easy remedy.

About the author
Karinda John is a Naturopath (BHSc) and Fertility Awareness Teacher specialising in women's hormonal health. She works with women who are tired of being told their symptoms are normal, helping them understand what their cycle is actually communicating and building the foundations for genuine hormonal balance through functional testing, personalised naturopathic medicine, and body literacy education. She runs the Harmonised Hormones program and is the creator of the free Cycle Tracking Guide.
*This blog post is for educational purposes and does not constitute personalised medical advice. If you have concerns about your health, please seek support from a qualified healthcare practitioner.*